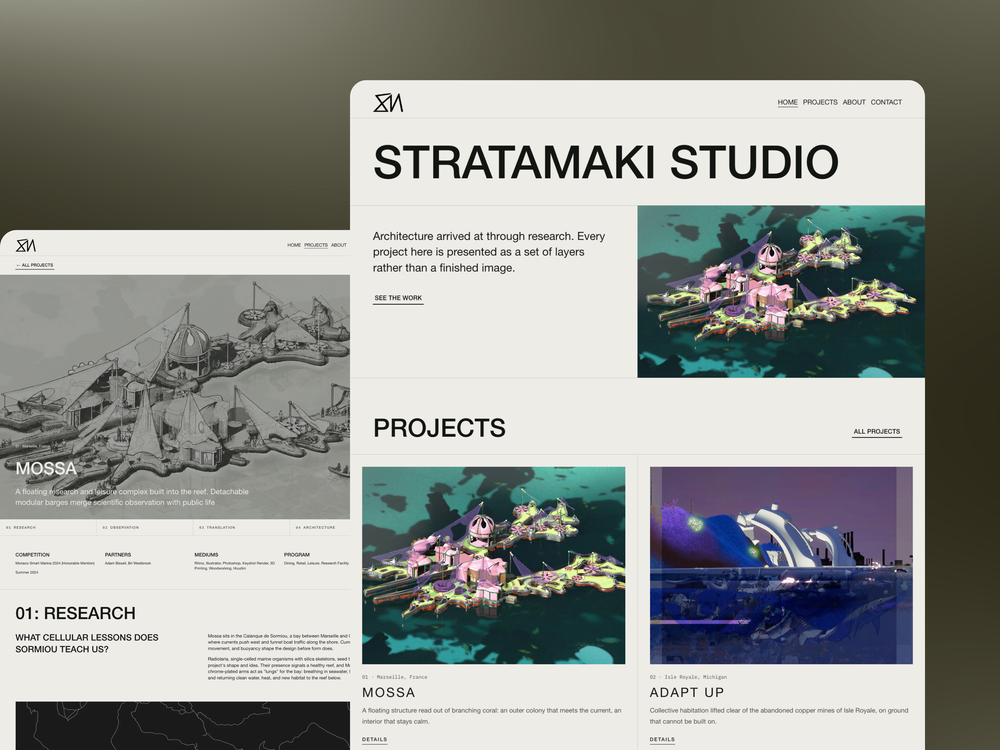
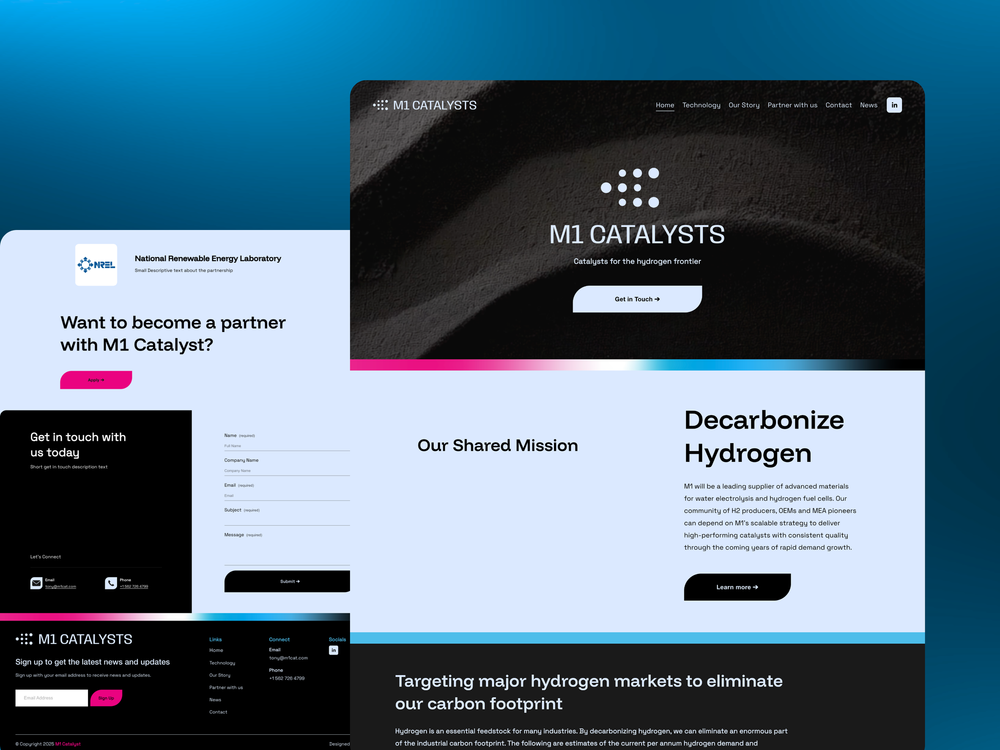
Squarespace 7.1 Tutorial: Step-by-Step Guide
Squarespace 7.1 gets described a lot of ways, but "the version that finally removed the guesswork" is the one that matters most. We walk clients through this exact build process every week, and this is the version we'd hand to a first-time founder and a seasoned brand alike. Follow it in order and you'll launch a site that looks considered rather than assembled.
Table of contents
Why this Squarespace 7.1 tutorial matters
Step 1: Choose the right Squarespace plan
Step 2: Pick a template
Step 3: Build your core pages
Step 4: Customize your design
Step 5: Add SEO and analytics basics
Step 6: Preview and publish
Pro tips and common mistakes to avoid
FAQ
1. Why this Squarespace 7.1 tutorial matters
If you've heard about Squarespace 7.1, you've likely seen it described as the most powerful and flexible version of the platform yet. As Squarespace designers, we can confirm it: 7.1 offers an ideal balance of simplicity and sophistication, suited equally to first-time builders and established businesses that need a serious upgrade.
What makes 7.1 different from earlier versions isn't just a fresh coat of paint. Squarespace rebuilt the underlying template architecture so that every design shares the same flexible section-based system. That single change removes most of the guesswork that used to trip people up, you're no longer locked into a template family with fixed capabilities. This tutorial walks through the exact sequence we use with clients, distilled into six steps you can follow whether you're building your very first site or replacing an outdated one.
Before diving into the steps, it's worth understanding what you're actually gaining compared to 7.0. Older Squarespace templates each had their own quirks, some allowed certain section types, others didn't, and moving between templates often meant rebuilding pages from scratch. Fluid Engine, the design system underneath 7.1, treats every template as a starting point rather than a fixed container, which is the reason this version has become the default recommendation for nearly every new build we take on.
2. Step 1: Choose the right Squarespace plan
Squarespace offers a few plan tiers, Personal, Business, and Commerce (Basic or Advanced), and the right one depends entirely on what the site needs to do, not on how serious the business feels.
Personal is best for portfolios, blogs, or simple single-purpose sites with no transactions. Business adds marketing tools, custom code injection, and analytics, the tier most service businesses need. Commerce is built for online stores with checkout, inventory, and sales tracking.
If you're a small business or professional brand, we typically recommend starting with the Business Plan. It provides the flexibility most clients need without paying for commerce features they won't use, and it's straightforward to upgrade later if the business grows into a store or membership model.
One detail people often miss when comparing plans: code injection, the ability to add custom CSS or JavaScript to specific pages, is locked behind the Business tier and above. If there's any chance you'll want a designer to add custom styling down the line, even something small, starting on Business rather than Personal saves you a plan change and a bit of friction later.
3. Step 2: Pick a template
One of the biggest upgrades in Squarespace 7.1 is the unified template system. Unlike older versions, you don't have to worry about template families anymore, every design uses the same flexible structure underneath. That means you can start with almost any template and customize it endlessly with new sections, layouts, and styling options, without hitting a hard ceiling later.
Here's what actually matters when picking one: choose a clean layout that fits your content structure, not just one that looks nice in the demo, focus on functionality first, how content will actually flow, not just appearance, and remember that fonts, colors, and layouts can all change later, so don't overweight the initial choice.
A useful way to think about template selection in 7.1 specifically: you're choosing a starting arrangement of sections, not a permanent skin. Since every template shares the same underlying section types, the real question isn't "which template looks best" but "which template's default page structure is closest to what my business actually needs," because that's the part that saves the most rebuilding time later.
4. Step 3: Build your core pages
Every professional site should start with a small set of essential pages rather than a sprawling menu. The home page carries your value proposition and primary call-to-action, stated clearly above the fold. The about page covers who you are, what you do, and why it matters to the visitor specifically. The services or products page presents your offerings with clarity, not buried under paragraphs of copy. The contact page keeps things simple: a form, business hours, and social links.
You can create new pages easily from the Pages panel on the left-hand menu, and drag them into folders or navigation groups to keep the structure clear as the site grows.
Resist the urge to add pages just because a competitor's site has them. Every additional page in the main navigation is a decision point for the visitor, and each one dilutes the odds that they end up on the page that actually matters most. Start with the four core pages, get them right, and only add more once there's a specific piece of content that genuinely doesn't fit anywhere else.
5. Step 4: Customize your design
Now it's time to make it yours. Go to Design, Site Styles to adjust the global elements that set the tone for the whole site. Pick a clean, readable typeface for fonts and resist the urge to mix more than two. Stick to two or three brand colors for consistency across every page. Keep plenty of white space for spacing, it's what makes a site feel premium rather than cramped.
From there, click into each section to tweak images, text alignment, and button styles. Squarespace 7.1's section editor lets you stack, reorder, and duplicate entire content blocks in seconds, with no coding required. This is also the stage where custom CSS or brand-specific styling, if you're working with a designer, elevates a site from fine to genuinely distinctive.
6. Step 5: Add SEO and analytics basics
Squarespace 7.1 includes built-in SEO settings for every page, and skipping them is the single most common reason a new site never gets found. Add a Page Title and Description for every page that uses your main keywords naturally. Rename image files before uploading so they include SEO-friendly names instead of camera-generated strings. Connect Google Analytics, or use the built-in Analytics dashboard, to monitor traffic and conversions from day one.
This tutorial gets you to a published, well-structured site, but ongoing optimization after launch is what actually moves the needle on visibility over time.
A step people frequently skip entirely: setting up 301 redirects if you're replacing an existing site. If any of your old pages had earned search rankings or inbound links, launching a new site without redirecting those old URLs to their new equivalents throws that history away overnight. Squarespace's URL mapping tool under Settings handles this in a few minutes and is worth doing before you ever hit publish on a replacement site.
7. Step 6: Preview and publish
Before launching, preview the site on desktop, tablet, and mobile. Squarespace 7.1 automatically adjusts layouts for different screen sizes, but it's always worth double-checking spacing, image cropping, and button visibility on smaller screens specifically. When you're ready, hit Publish, your domain goes live instantly, and you can keep editing anytime afterward without any downtime.
It's also worth checking a handful of practical items that have nothing to do with visual design but matter just as much: confirm the favicon is set, since a browser tab with a blank icon reads as unfinished, verify that forms actually deliver to the right inbox by submitting a real test entry, and check that the domain's SSL certificate is active so browsers show the site as secure rather than flagging it. None of these take more than a few minutes, but each one is the kind of gap a first-time visitor notices immediately even if they can't articulate what feels off.
8. Pro tips and common mistakes to avoid
If you're building your first site, a few habits separate a clean result from a cluttered one: start small, get one strong page fully right before moving to the next, keep messaging simple with clear and singular calls-to-action per page, and use professional imagery, it instantly elevates perceived quality more than any layout tweak.
Most of the sites that feel off despite using a good template share the same handful of avoidable errors: too many fonts and colors, which reads as unfinished even when individual pages look fine in isolation, skipping mobile preview, when most traffic to a small business site arrives on a phone, leaving default placeholder text or images, since nothing undermines credibility faster than a stray Lorem ipsum or mismatched stock photo, and ignoring page titles and descriptions, since a beautifully designed page that no one can find in search still isn't doing its job.
None of these require technical skill to fix, they require slowing down at the review stage instead of publishing the moment the layout looks right on one screen. One final habit worth building: come back to the finished site a day later with fresh eyes before publishing, rather than reviewing it immediately after the last edit. Fatigue from staring at the same layout for hours hides small inconsistencies that become obvious the next morning, a misaligned button, a sentence that runs long, a heading that's slightly too similar in size to the one above it. That one extra look catches most of the mistakes that otherwise ship straight to a live audience.
The bottom line
Squarespace 7.1's unified template system means the plan and template you pick barely matter — what determines whether your site looks professional is how deliberately you handle pages, styling, and SEO basics before you publish. The two mistakes that make most DIY sites look unfinished are overcrowded pages and inconsistent styling, and both are entirely avoidable if you follow the six steps in order. Do that, and your site will look like it took far longer to build than it actually did.
FAQ
Does the Squarespace template I choose matter in version 7.1?
Less than it used to — 7.1's unified system means every template shares the same underlying design tools, so execution matters more than template choice.
What are the most common mistakes beginners make in Squarespace 7.1?
Overcrowded pages and inconsistent styling are the two biggest issues, both caused by adding content without a clear plan for hierarchy and visual consistency.
How long does it take to build a professional site in Squarespace 7.1?
Following the core steps — plan, template, pages, design, SEO basics, and publish — a functional, professional-looking site can typically be built in a matter of days.
Do I need to add SEO settings before publishing my Squarespace site?
Yes — basic SEO and analytics setup should happen before launch so the site is indexable and trackable from day one, rather than retrofitted later.
Is Squarespace 7.1 suitable for someone who has never built a website before?
Yes — its drag-and-drop editor and all-in-one hosting are specifically designed to give first-time builders full creative control without needing technical or development experience.
More insights